This week's news from About Chromebooks, April 9, 2023
Hey Chromies!
First off, if you celebrate it, Happy Easter. Secondly, an apology as there was no newsletter last week.
Truth be told, my depression got a hold of me for nearly a week. It’s a condition I’ve been managing since 2011 or so. Most days are tolerable and productive but every now and again, I lose several days, or even a week, of productivity. No need for any sympathy, just explaining the lack of a newsletter last week. So on to happier news!
I’m often asked how to reduce the amount of data provided to Google from Chromebook users. Clearly, you can’t eliminate it completely in this case. However, you can greatly diminish it for little cost, time and effort. This week, I show you how using a free, open source software platform called NextCloud.
Next up is an update on the Google Chrome “Read Anywhere” feature, better known as Reader Mode. It’s a way to view just text and images from a web page, stripping out the ads and other things you don’t want to see. Just don’t use it on my site. ;) I kid!
I round out the news this week by sharing what’s in the new Chrome browser 112 release, which arrived a few days ago. You’ll see all of the same features, and more, when ChromeOS 112 is launched, likely this coming week.
Lastly, my regular, weekly thanks goes out to subscribers that bought me a coffee. If you get value from this newsletter and want to say thanks, click the button below. As always, that’s never required but sincerely appreciated!
Cheers,
kct
This week’s most read post on About Chromebooks
How to create a private alternative to Google services for Chromebooks
Chances are, if you’re a reader of this site, you use a Chromebook or other ChromeOS device. And if you are, you’re also likely relying on Google services, such as Docs, Drive, and Photos. Yes, you know you’re giving your data to Google. Did you know you don’t have to? Here’s how to create a private alternative to Google services for Chromebooks.
One possible solution: NextCloud
The private alternative to Google services I’m going to highlight is NextCloud. What is NextCloud?
It’s a free and open source software suite that provides software to create documents, manage contacts and calendars, chat with others and file storage. All of these tools in the NextCloud suite are accessible through a browser. That right there makes this a viable option for Chromebooks. There are also mobile apps for NextCloud on both Android and iOS.
The key difference between NextCloud and Google, as well as many similar services, is that you control all of the data. That’s because you’re the one actually running the service. I’ll get to how you do that shortly.
Above is just part of a much larger comparison of features between NextCloud and other cloud-based productivity and personal services. You can view the full comparison on NextCloud’s site.
Use NextCloud on a Pi as a private alternative to Google services
Since you’re not relying on a company to provide your cloud services, you have to install NextCloud yourself. I’ve done this two different ways in the past. One, which is what I recommend to get started, is to use a Raspberry Pi. Surprisingly, this relatively inexpensive little computer can handle light to moderate use as a NextCloud server. And it’s easy to get started.
Download the Raspberry Pi OS image provided by the Raspberry Pi folks, for a basic Linux system. Once the Pi is booted up and running, use the Terminal to run this command: curl -sSL https://raw.githubusercontent.com/nextcloud/nextcloudpi/master/install.sh | sudo bash That will download and install the NextCloud server software.
If you want or need a more step-by-step approach on this entire process, RaspberryPi Tips has a solid writeup.
Run NextCloud in the… cloud!
The second option I’ve used is to pay for a cloud server and run NextCloud on it. There are plenty of vendors to choose from but I went with Linode. I use Linode to host this site and they’re not paying me to mention their service. I’m just a happy customer. And if you choose to use Linode through this link, you’ll get a $100, 60-day credit for their services. I’ll also get a smaller credit to my account, just to be transparent.
If you go with Linode, you don’t have to spend much to run NextCloud, even after your two month free trial. For $5 a month, I run a Linode instance with more processing power and storage capacity than my Raspberry Pi. It’s a shared server with a single CPU instance, 1 GB of RAM, 25 GB of storage and up to 1 TB of data transfer per month. If you’re going to host services and files for several Chromebook users, say a family, you may want the next tier, which is $12 monthly. That doubles everything from the lower plan.
If you go the Linode route, you can install NextCloud with one click in the Linode Marketplace. Below I’m showing the Marketplace with NextCloud chosen. There are a few additional configuration settings you’ll need to enter, such as admin passwords and which region you want your NextCloud server in. You’ll want to select the region closest to you.
For a look at all of the individual steps for the installation and configuration of NextCloud on Linode, this is a helpful guide.
How do you access NextCloud from a Chromebook?
Regardless of how or where you have your NextCloud server installed, you will have an IP address for it. To access and use NextCloud from a Chromebook, just point your browser to that IP address! You’ll have to login as a NextCloud user, which is configured after the server setup. But that’s it.
Note that you can point a domain name to your NextCloud IP address too. Meaning, I could have access to NextCloud from my personal site at kctofel.com. In fact, I did do that when testing NextCloud, using a subdomain. nextcloud.kctofel.com provided access to my files and apps on my Chromebook. That’s a more advanced topic though, so I’ll refer you back to the Linode support docs, since it’s covered there.
More importantly is what does NextCloud on a Chromebook look like and what can you do?
Goodbye Google services for Chromebooks!
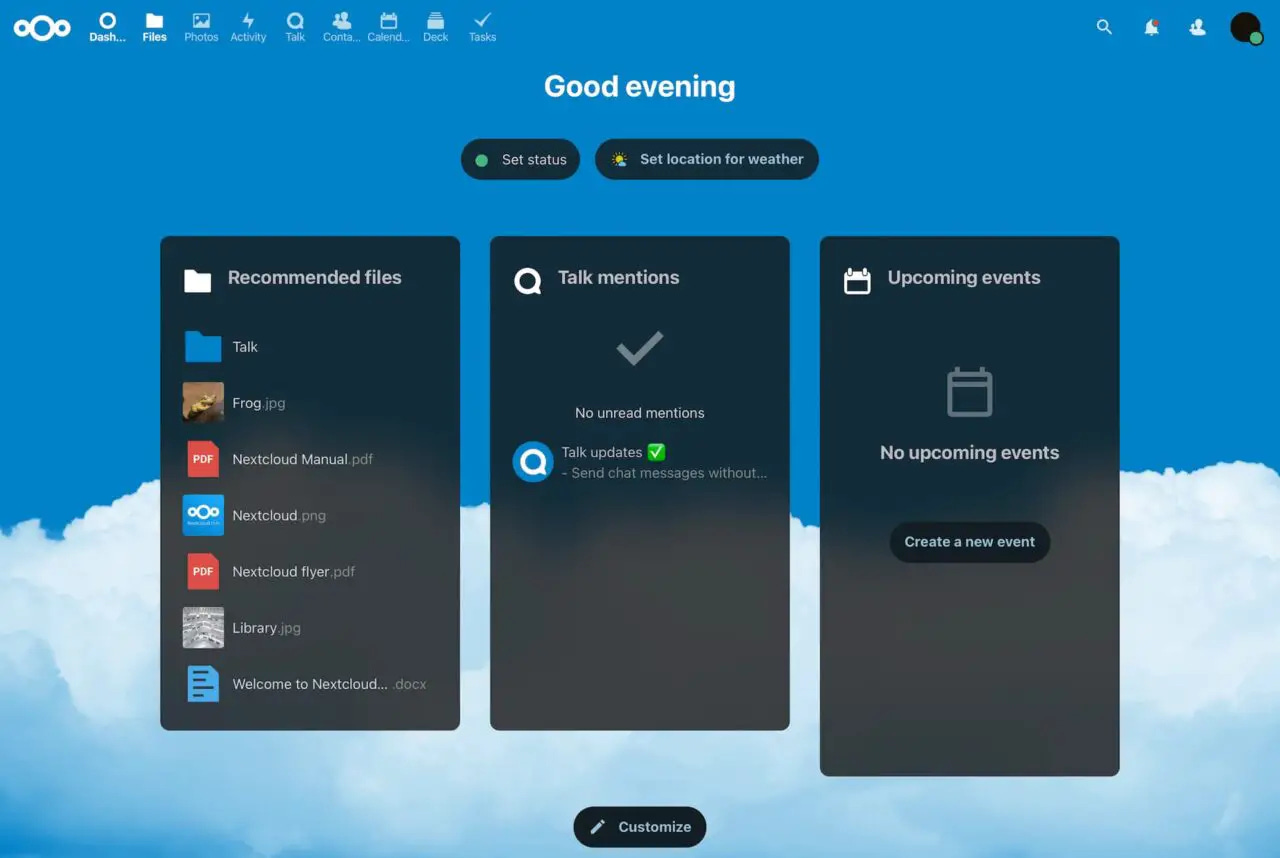
As you might expect, the overall experience with NextCloud is similar to Google Docs, Drive and Photos. All of the apps and services are integrated into a single space. And you start out from a home screen similar to what iCloud provides Apple users on the web.
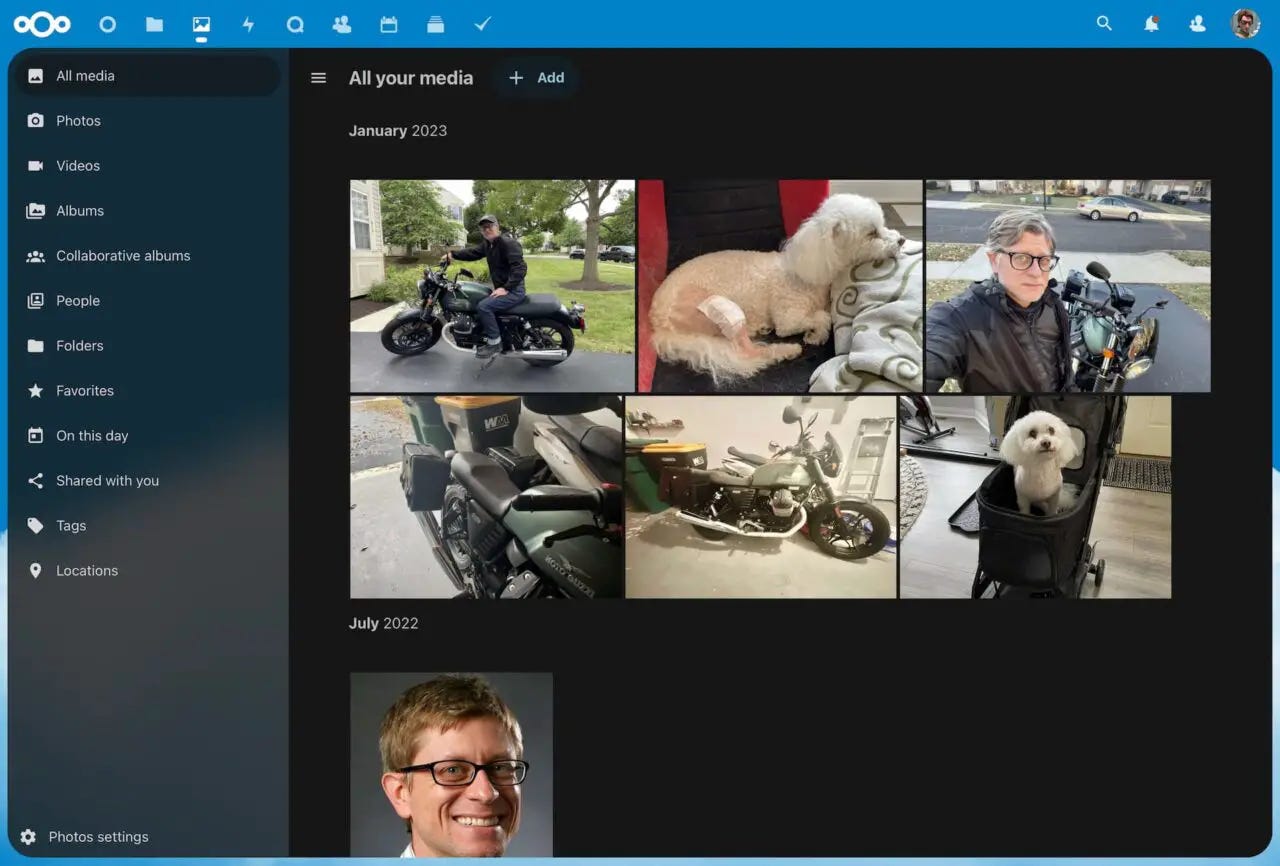
Using the NextCloud web client, I uploaded some of my Google Photos and they appeared without a hitch. Again, these are now stored on my own server, so Google nor any other company, have access to them. You can also set up the NextCloud mobile app on your phone to automatically back up photos to your server.
I don’t use Google Docs all that much but I did test out NextCloud’s productivity tools. And… they look and work much like Google’s. Here’s a brief overview video to show you.
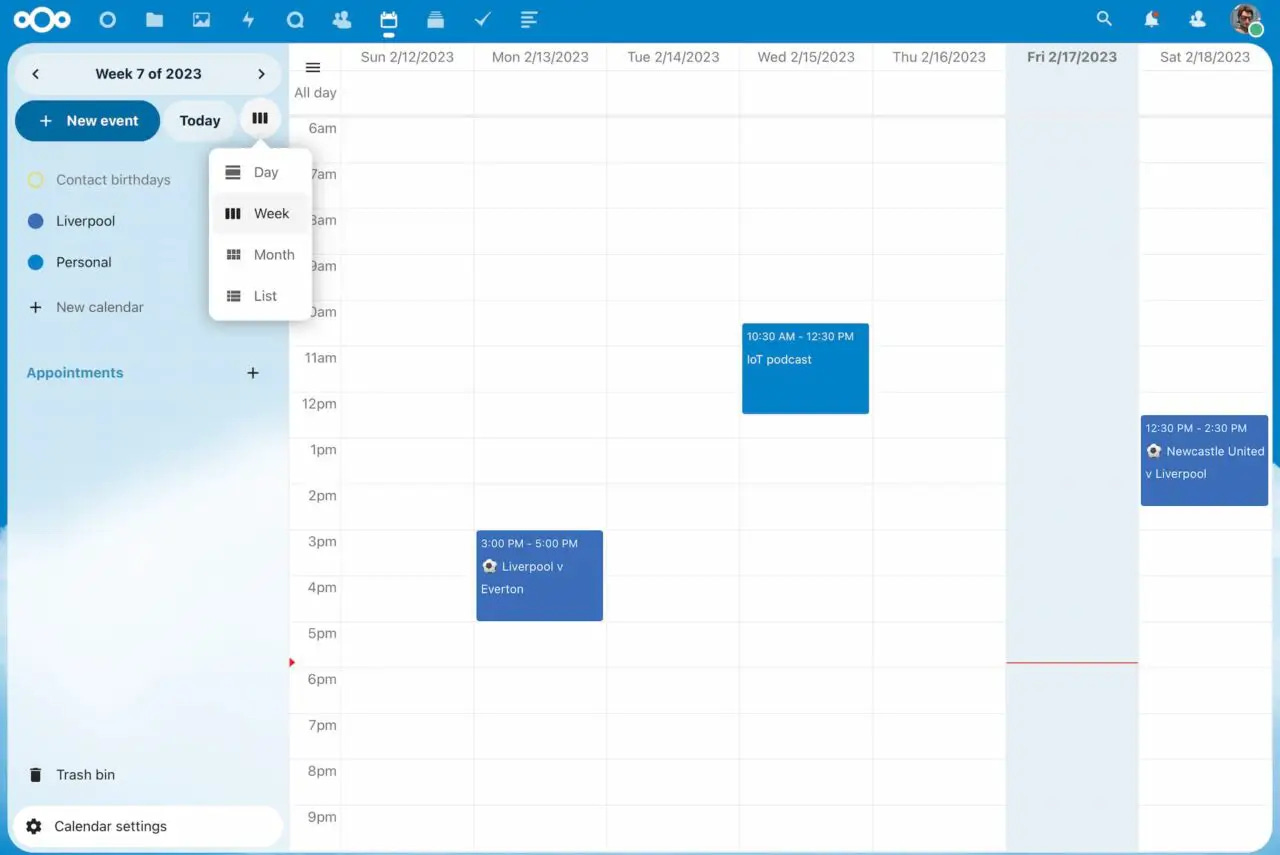
I also configured and accessed my NextCloud calendar with a Chromebook. Surprise, surprise: It probably looks similar to what you’re used to.
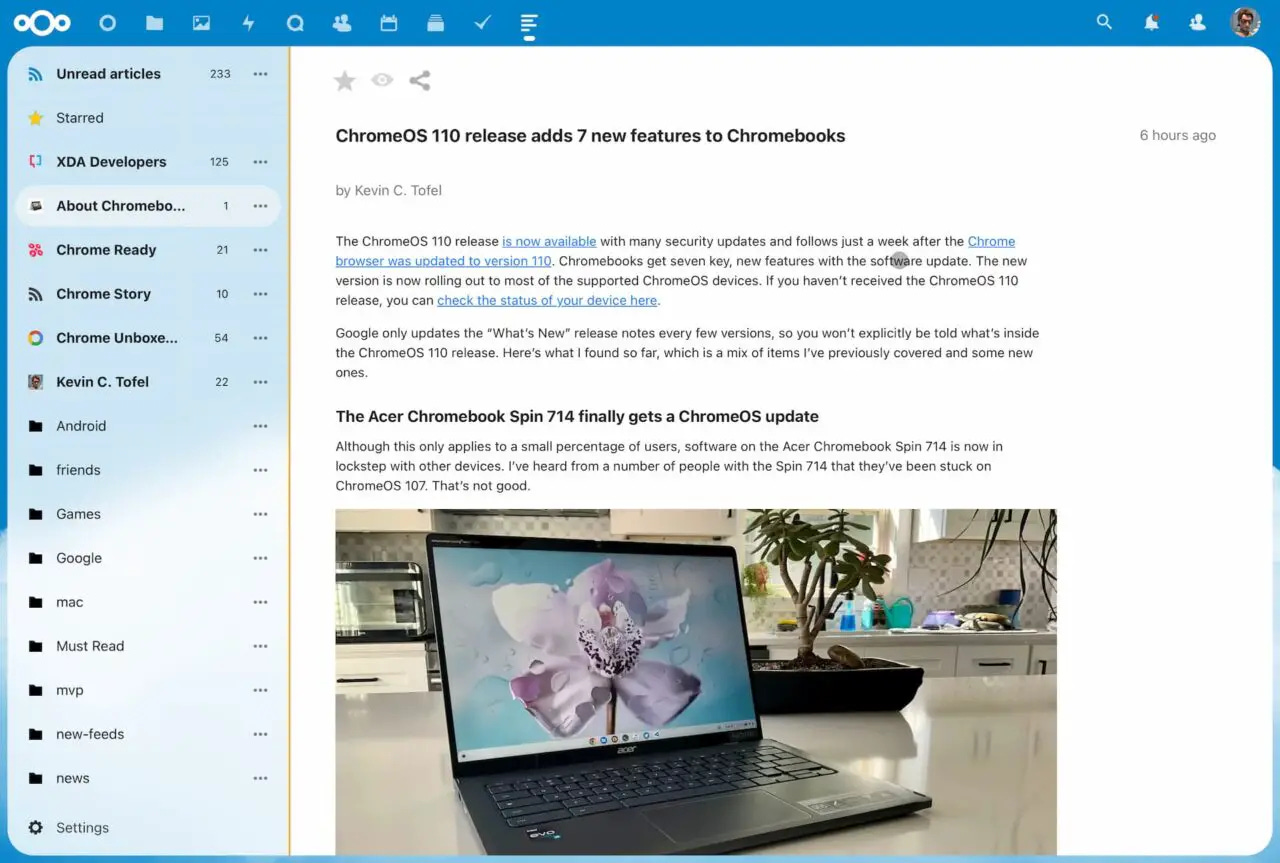
As an added bonus, NextCloud has a built in feed reader too for your RSS feeds. Google doesn’t even have one of these today, given it killed Google Reader years ago. Then again, it might be coming back to Chromebooks in a fashion.
These days, I use Feedly for my RSS needs. It was super simple to export those feeds to a file and then import them to NextCloud.
Do you want a private alternative to Google services for Chromebooks?
Before going through any of the NextCloud setup process, you really need to ask yourself if you want a private alternative to Google services. Again, you’re likely using a Chromebook or ChromeOS device. These do provide Google with telemetry data as well as information on what you search for and where you browse. This isn’t news.
However, you can vastly limit how much of your usage data goes to Google from your Chromebook with NextCloud. If Google can’t see your documents, photos and files, for example, that’s a huge reduction right there.
Ultimately, you may not care about giving Google access to your data from a Chromebook. And that’s fine. My intent here isn’t to judge you. Nor is it to tell you that you’re wrong. Instead, I’m simply providing a cloud-based alternative to Google services on Chromebooks. One that helps protect your data privacy if you’re willing to configure and administer it.
After using it, I think NextCloud is one of the best services to replace those Google services on a Chromebook. But then again, I don’t mind doing some of the server setup and administration.
How to use Read Anything in the ChromeOS 111 side panel
Earlier this week, Google announced new ChromeOS features for the classroom. These include updates to the screencast functionality as well as some other useful teaching tools. One of them will certainly be used by many outside the classroom. It’s a reader mode inside the ChromeOS side panel called Read Anything, and it arrives in ChromeOS 114. Here’s how to use Read Anything in the ChromeOS 111 side panel a few releases early.
Reader Mode vs Read Anything
You might think that Reader Mode in ChromeOS is going away in favor of the new Read Anything. It’s not, which is good because Reader Mode is my favorite hidden feature that you might not be using. Basically, with one button tap, you can distill the contents of nearly any web page into a plain text version.
You’ll still see photos with the text in Reader Mode and of course, all of the links in the content will be available too. I find it a great way to cut through the clutter of a web page to enjoy the written content.
Read Anywhere is similar to Reader Mode, but there are a few differences.
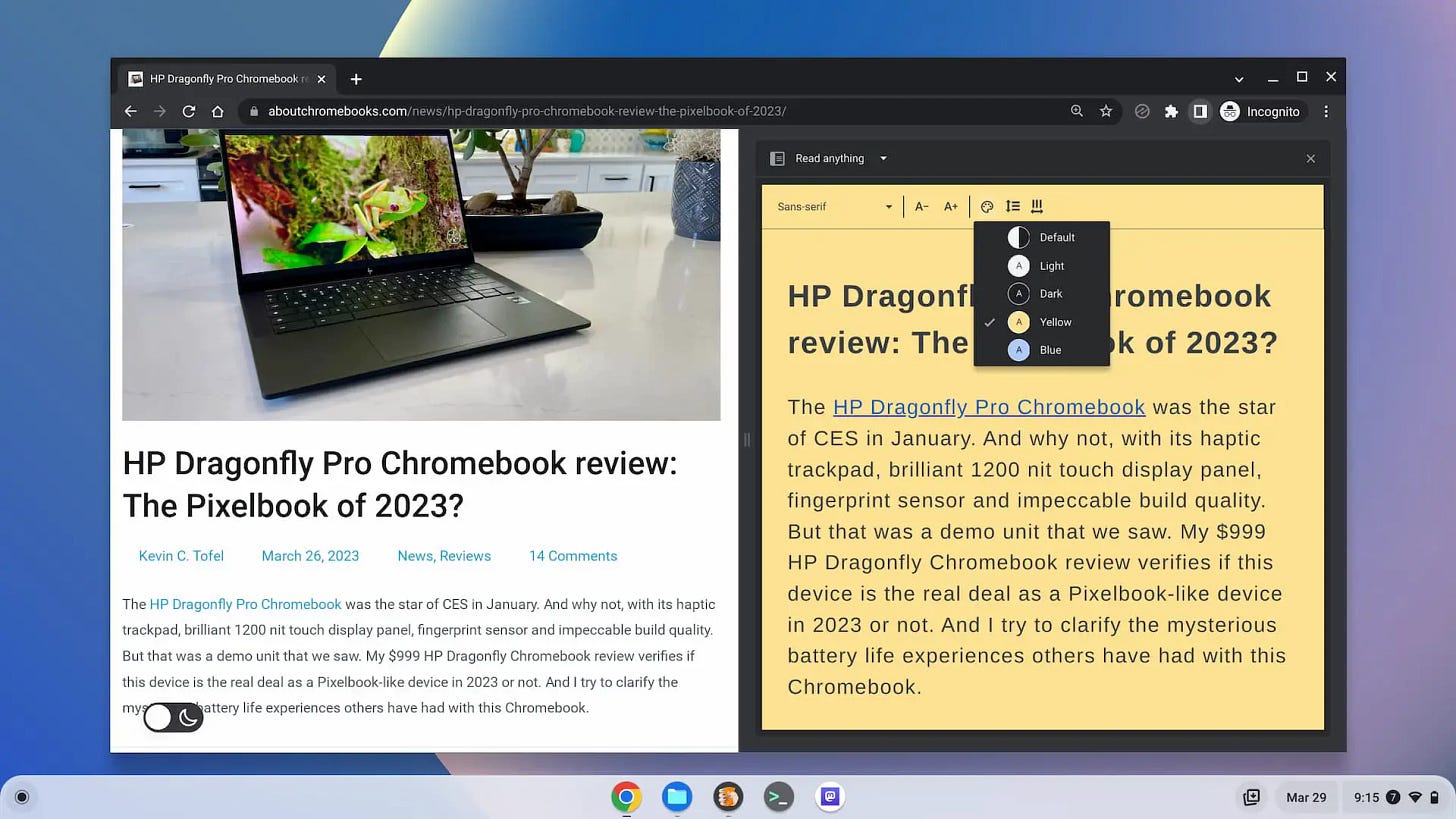
First, Read Anywhere shows the distilled content in the ChromeOS side panel. It doesn’t convert a web page from the full to basic experience in the browser tab. Essentially, you get a side by side view of content with the original page on the left and the text on the right.
In the example above, you may notice another difference. Unlike Reader Mode, Read Anywhere doesn’t show images from a web page. This is strictly for reading content. Links do still appear in Read Anywhere, however. Clicking one will load the linked page in the left browser tab, leaving the original, distilled page in the side bar.
Google says Read Anywhere was created because “One in five children in the U.S. has a learning and thinking difference like dyslexia and ADHD.” The goal here is to provide a more effective reading experience to assist with this.
Get Read Anywhere in the ChromeOS 111 side panel
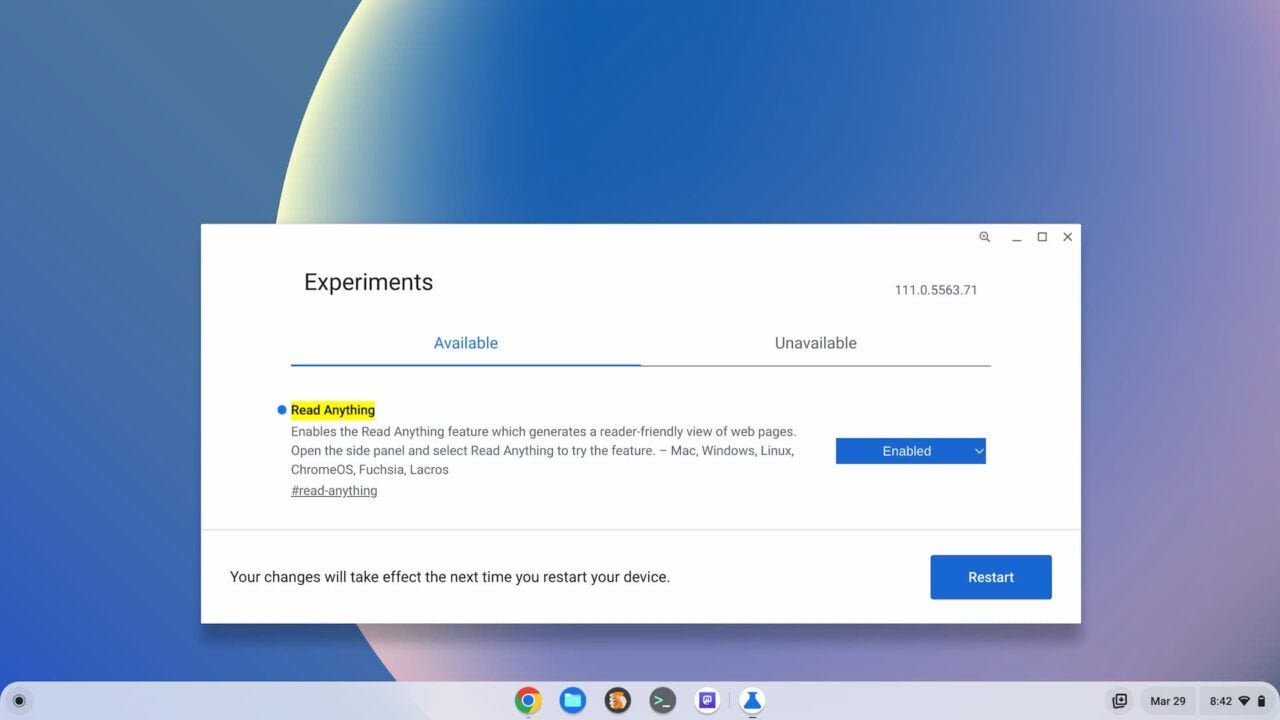
Since this feature won’t be available until ChromeOS 114, it’s an experimental one for now. And there’s an experimental flag to enable it early.
Just point your Chromebook browser to chrome://flags#read-anything, enable it, and restart your browser.
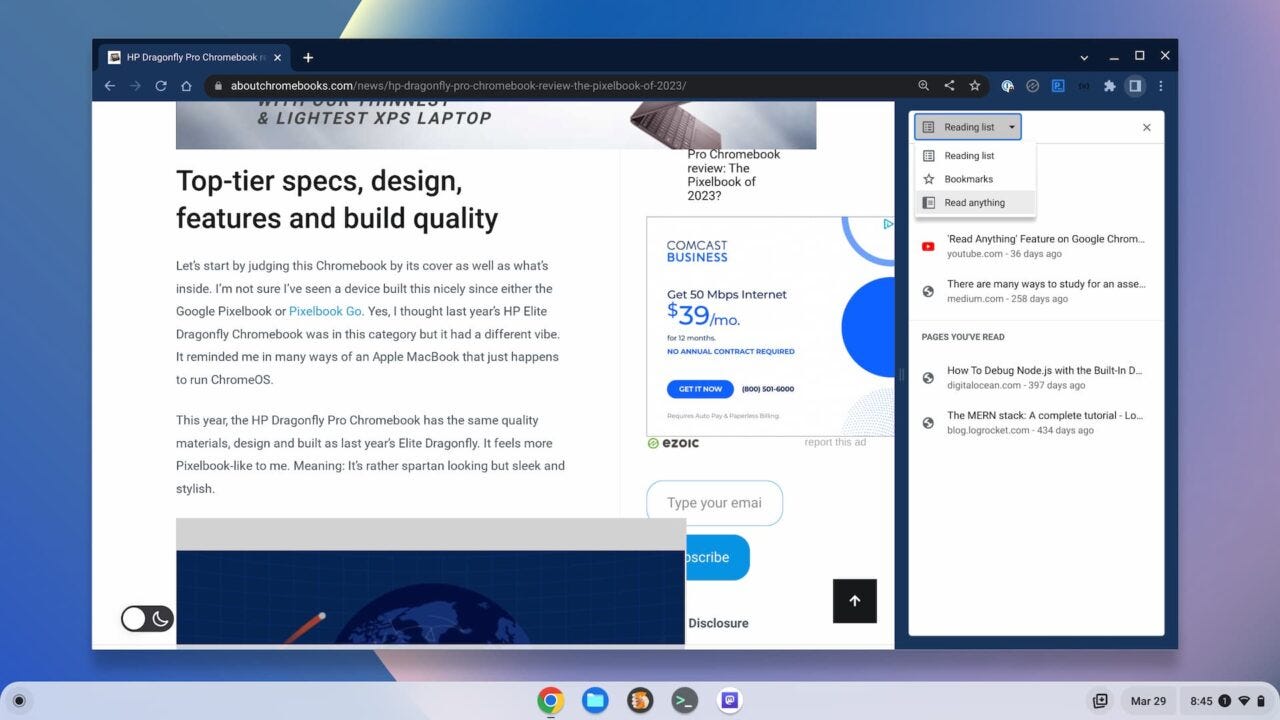
Once your browser restarts, you can view any page using Read Anything in the browser side panel. The side panel is available at the top left of the ChromeOS browser, next to the three dot button.
Click the side panel button and choose “Read Anything” from the drop down menu to view the text of an open web page.
Customizing Read Anywhere in the ChromeOS 111 side panel
There are several customization options in the Read Anywhere side panel. These let you change the background color, font, vertical and horizontal line spacing, and enable dark mode. You’ll see the various options in a toolbar above the distilled copy.
Here, for example, I opted for a high contrast yellow background, San Serif font and looser line spacing.
Note that I also made the side panel larger by dragging its left border to the center of my browser. The side panel typically opens in a narrow view but you can easily change the width.
A name change may be incoming
I’ve referred to this mode as Read Anywhere throughout this article. That’s because I’ve been tracking it since last April and that’s what Google has been calling it. However, in its blog post, Google refers to it as Reader Mode. I find that confusing because there’s a Reader Mode not for the side panel already.
It’s possible that the Read Anywhere name may change from its current designation between now and ChromeOS 114. In fact, given that Google is publicly calling this Reader Mode now, it’s quite likely. So don’t panic if you see the name change. Use the experimental Read Anywhere now if you want, knowing that it could be modified upon the final, generally available release.
Here’s what’s in the now available Google Chrome 112 release
The latest iteration of Google’s Chrome browser is now generally available, bringing a number of fixes and features to macOS, Linux, and Windows. The Google Chrome 112 release includes 16 security fixes and several new features. Here’s what’s in the now available Chrome 112 release, currently rolling out, just shy of a month after Chrome 111.
16 security fixes in Google Chrome 112
While there aren’t a ton of new front-facing functions in this version Google Chrome, there are 16 security patches. Like, more than three dozen of them. Google doesn’t share the mitigation details of these immediately following a browser update. That’s because it wants time for the patches to roll out widely. Offering the details too soon could give information on exploits that are waiting to be patched with the upgrade.
In any case, you can see a high level explanation of all 16 right here. The company shelled out at least $26,500 to folks who found the security issues and shared information in Google’s bug bounty program.
Chrome Apps are gone from Mac, Linux and Windows
This isn’t news, because it was previously announced but it does have an impact. If you use(d) Chrome Apps on a traditional desktop computer, you can’t after the Google Chrome 112 release. Chromebook users get a pass as Google extended the date to January 2025 for Chrome App support. Why the deprecation of Chrome Apps? It’s in “in favor of Progressive Web Apps (PWAs) and web-standard technologies,” according to Google.
To be honest, it’s not difficult for a developer to turn a Chrome App into a Progressive Web App. At least not to continue the life cycle of that app for folks who want a dedicated window for it. Functionality breakage is possible though.
These days, I don’t use an of the old Chrome Apps but rather, PWAs. I won’t be impacted but I’m curious if any of you will.
Revoking unused permissions over time
Some may complain about this one because they want total control over their browser. I get that and yet, I don’t mind this new feature. With Google Chrome 112, the browser will being automatically revoking website permissions. This happens when you haven’t used a website for a while. Unfortunately, Google hasn’t defined how long “a while” is.
The idea here is one of user safety. You may have granted a website permissions to your file system, webcam or microphone in the past. That may not mean you want that site to have those permissions six months from now. So in this case, assuming six months is “a while”, you’ll have to grant those permissions again.
More data options on Google Chrome Takeout
Google Takeout provides a way to export specific data from your Chrome browser. That’s not new in Google Chrome 112.
What is new are the addition of more data types. You can export your Device Information, Autofill, OS Preference and more once you upgrade your browser. Some of the new data types — OS Preference and Printer — aren’t yet showing for me after I upgrade my Chrome browser. Give it time if you don’t see one of the new parameters.
An updated Chrome browser on-boarding process
Google has revamped the initial Chrome browser on-boarding process in version 112. The options show all of the benefits of signing in with a Google account to get you started. Google says this is “more intuitive”, which I don’t disagree with. But make no mistake, this simplification brings a benefit to Google as well as first time Chrome users.
Admins can enforce HTTPS:// only connections
This one won’t affect Chrome browser users unless their browser is managed by an IT organization. So if you’re an everyday Chrome user on your own device, you can skip this one. For everyone else, your Chrome Admin can force secure https:// connections. That means you’ll see a warning message if visit a site that uses http:// in the URL unless that site auto-forwards you to the secure page. You can bypass the enforcement through the warning page for up to one week. And you can’t unblock the non-secure sites if the Chrome Admin policy is set to enforce it.
On a related note, admins can enable mixed content as allowable. This comes into play when you visit an https:// site that renders some non-secure elements. It’s called mixed content and it’s relatively common.
That’s all for this week!
As always, your continued support matters greatly to me, so I thank you. I’m a bit behind on some reader emails and hope to get to them soon. While I do that, I expect ChromeOS 112 to arrive, so I’ll be planning my summary of the new and improved features this coming week.
And I’ve finally worked through my backlogged queue of Chromebook reviews. I’ve just boxed up five devices to return, which is very freeing. I like a minimal, clean home office and it’s been quite the mess these past several weeks!
Until next time,
Keep on Chromebookin!


